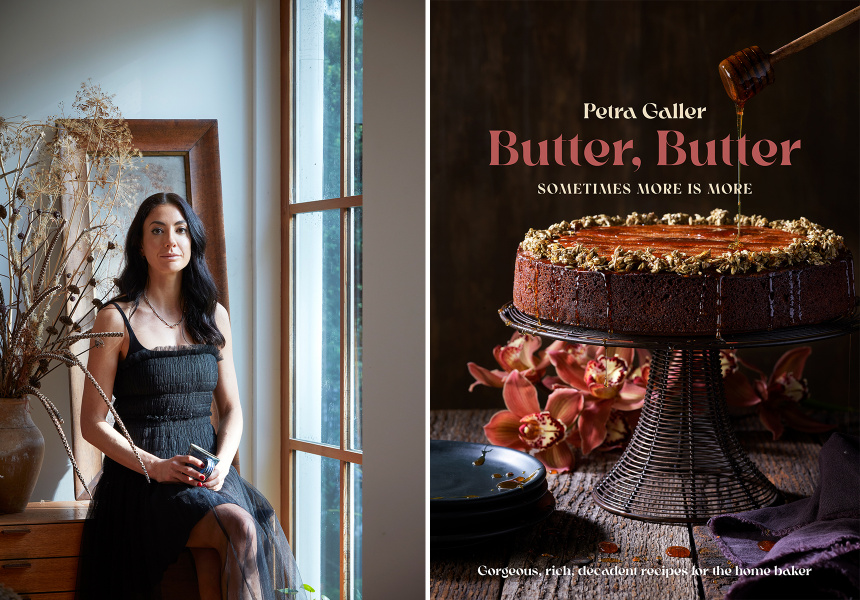
With her debut recipe book, Petra Galler wants to encourage you to be bold with baking.
Butter, Butter: Sometimes More Is More is full of cake, pastry, dough, cookie and slice recipes for the home baker – all inspired by Galler’s Jewish heritage and love of deep, fragrant flavours.
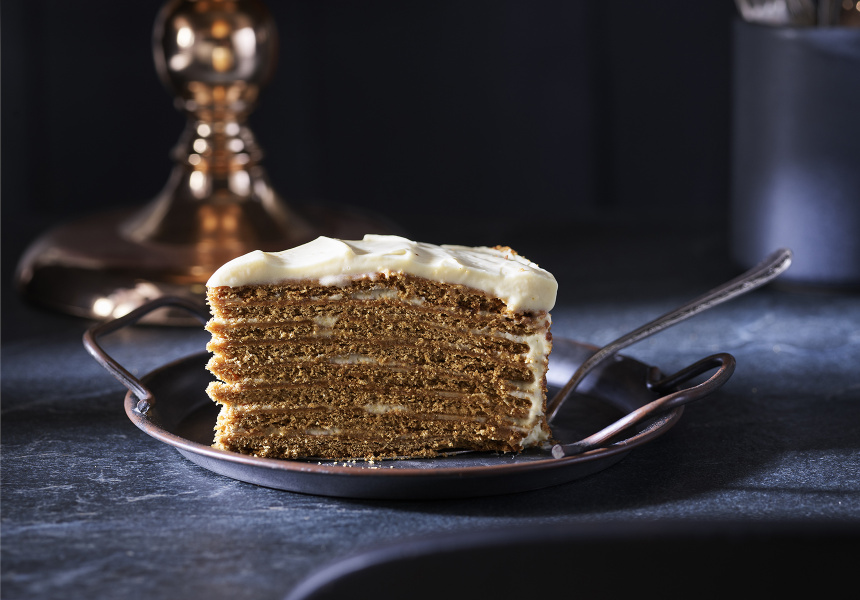
“I promise it’s not as hard as it may look,” says Galler. “Medovik is one of the most popular desserts in Slavic countries and one bite of this layered beauty and you will see why – it’s eight gorgeous layers of incredibly moist honeyed heaven.”
Never miss a moment. Make sure you're subscribed to our newsletter today.
SUBSCRIBE NOWThere are three components to this cake: ginger-spiced discs, burnt honey icing – and a little patience, says Galler. “It’s the perfect ‘rainy afternoon project’ bake and worth every minute of effort.”
It must sit in the fridge overnight before serving, so the layers have time to soften and soak up all the burnt honey icing.
Petra Galler’s medovik honey cake
Serves 12
Cooking time: 75 minutes, plus chilling in the fridge overnight
Ingredients:
Burnt honey icing
95g runny honey
750ml (3 cups) cream
1 tsp flaky salt
320g condensed milk, fridge cold
85g sour cream
150g mascarpone
Honey syrup
120g honey
100ml water
Cake layers
125g butter, roughly chopped
150g runny honey
125g brown sugar
500g plain flour, plus extra for dusting
1 tsp baking soda
½ tsp flaky salt
2 tsp ground ginger
2 tsp ground cinnamon
1 tsp mixed spice
3 eggs
2 tsp vanilla paste
Method:
To make the burnt honey icing, put the honey into a small pot and cook over a medium heat for 5–6 minutes or until it turns a couple of shades darker. Remove the pot from the heat and pour in 150ml of the cream and the salt. Pour this mixture into a small bowl, cover and set aside in the fridge until fully cooled.
Next, get onto the honey syrup. Combine the honey and water in a small pot and bring to a gentle boil. Simmer for 2–3 minutes until slightly thickened. Remove from the heat and allow to cool completely.
Preheat the oven to 180°C fan-bake. Grease and line as many baking trays as you can fit into the oven at one time. Draw a 23cm-diameter circle on the back of each piece of paper – this will act as a template for the cake layers.
For the cake layers, put the butter, honey and sugar into a large pan, and cook for 5 minutes over medium heat, or until everything is melted and the mixture is bubbling and smelling toasty. Remove the pan from the heat and put aside to cool slightly, then pour into a bowl. Meanwhile, in a separate bowl, whisk together the dry ingredients. Put the eggs and vanilla into a jug and whisk briefly to combine.
Begin whisking the butter mixture, slowly pouring the eggs into the bowl; make sure you keep whisking to avoid the eggs cooking. Add in the dry ingredients and mix well with a rubber spatula until fully combined. The finished result will resemble a slightly softer and more pliable gingerbread dough.
Working while the dough is still a little warm, divide it into eight equal portions. Working with one piece at a time, put a ball of dough onto one of the prepared pieces of baking paper, lightly flour and roll until it is very thin and just a little bigger than the template. The ideal thickness for the layers is about 4mm. Trim the dough back to the 23cm circle and put the trimmings aside; we will be using these a little later.
Once you have rolled out as many as you can fit in the oven at once, bake for 8–9 minutes or until slightly firm to the touch and browning slightly around the edges. The finished cakes will be like gingerbread biscuits but with a little more flexibility.
As soon as the cake layers are cooked, remove from the oven and brush them with the honey syrup. It’s really important to do this while the layers are still hot so they soak up all the syrup.
Slide the discs onto wire racks to cool and continue until all the discs are baked. To finish, place all the offcuts and scraps on one of the lined trays and bake for 10–12 minutes or until fully dried out and a little crisp; we want them a shade or two darker than the discs.
To complete the icing, remove the honey mixture from the fridge and mix in the condensed milk, sour cream and mascarpone. Pour into a large bowl, add the remaining cream and whisk until medium peaks form; the icing will be far looser than a traditional icing or buttercream but should be firm enough to hold its shape.
To assemble, sandwich the honey cake layers with a little of the icing; just under a ⅓ cup should do it. Make sure you are stacking them as straight as possible. Spread the remainder of the burnt honey icing over the top and sides of the cake. Chill the cake in the fridge overnight so the cake layers soak up all that gorgeous icing.
When you are ready to serve, put the baked cake scraps into a food processor and pulse to form fine crumbs. Press the golden crumbs all up the sides of the cake to garnish.


